

If you’re looking for a beautiful, eco-friendly way to upgrade your outdoor space while helping manage stormwater naturally, permeable wood pavers are the way.
Not only do they bring warmth and texture to a landscape, but their design allows rainwater to soak into the ground rather than rushing into storm drains.
In this guide, we’ll walk you through how to install permeable wood pavers with a natural filler, following the Proflow Pavers method. We’ll cover materials, tools, and every installation step in detail so you can tackle your project with confidence.
Why Choose Permeable Wood Pavers?
Black Locust wood pavers are a sustainable, durable, and visually striking alternative to concrete or stone. Made from Robinia pseudoacacia, a native North American hardwood, Black Locust is one of the most rot-resistant woods in the world. Unlike many other decking or paving materials, it requires no chemical treatments to withstand moisture, insects, or decay — its natural properties do the work.
When used in a paver system, Black Locust combines the warmth and beauty of real wood with long-lasting performance. Its density and hardness make it resistant to wear, even in high-traffic areas like public plazas, walkways, and patios. Because it’s a renewable domestic species, it offers a low-carbon footprint compared to tropical hardwoods that are often shipped thousands of miles.
Beyond durability, a wood paver system offers environmental benefits that hard surfaces like asphalt or poured concrete can’t match. The design allows rainwater to pass through the gaps between pavers, reducing runoff, helping recharge groundwater, and preventing stormwater from overwhelming local drainage systems. Pairing Black Locust pavers with a permeable base further supports healthy soil and plant life in surrounding landscapes.
Black Locust also weathers beautifully over time. While its fresh color ranges from golden brown to light honey tones, it will naturally age to a soft silvery gray when exposed to sunlight — all without losing its strength. This low-maintenance aging process means you can enjoy your space without the constant upkeep required by stained or sealed surfaces.
For more information on Black Locust wood’s unique properties and applications, visit
Materials & Tools You’ll Need
Before you begin, gather everything you’ll need to complete the installation:
Materials:
- Permeable wood pavers
- Base material (clean crushed stone or aggregate)
- Permeable geotextile fabric
- Permeable joint material (small stones, tumbled glass, soil, or moss)
- Expansion joints (rubber or plastic)
- Perforated underdrain
- Plastic spacers
Tools:
- Level
- String lines & stakes
- Shovel
- Plate compactor
- Rubber mallet
- Saw (for cutting pavers if needed)
- Wire cutter (for wire mesh)
- Brooms (coarse and fine)
Step-by-Step Installation Instructions
Step 1: Planning
- Site Assessment – Start by checking the slope, soil type, and drainage patterns in your project area. Proper planning ensures your pavers drain correctly and last longer.
- Design Layout – Sketch your project, noting dimensions, paver pattern, and any required grading. Mark where water should flow and where expansion joints will go.
Step 2: Excavation
- Mark the Perimeter – Use stakes and string lines to outline your installation area.
- Dig the Base – Excavate to the required depth. Consider the combined thickness of the base material, sand leveling bed, and pavers. Depth may vary depending on soil conditions but usually includes at least 18 inches of clean crushed stone for the base.
Step 3: Base Installation
- Lay Geotextile Fabric – This prevents your base material from mixing with the native soil.
- Add Crushed Aggregate in Lifts – Fill with 6-inch layers (“lifts”) of clean crushed aggregate, compacting each layer with a plate compactor. The goal is to create maximum void space for water infiltration.
- Install Perforated Underdrain – Position the pipe in the aggregate, leaving a minimum 4-inch gap between the top of the pipe and the bottom of the pavers. Maintain a slope for effective drainage.
- Add Second Layer of Geotextile – Place this over the compacted aggregate before the sand layer.
Step 4: Sand Leveling Bed
- Spread Sand – Apply a 1–1.5 inch layer of non-polymeric sand over the geotextile.
- Level the Surface – Use a screed board or straightedge to ensure an even surface.
Step 5: Paver Installation
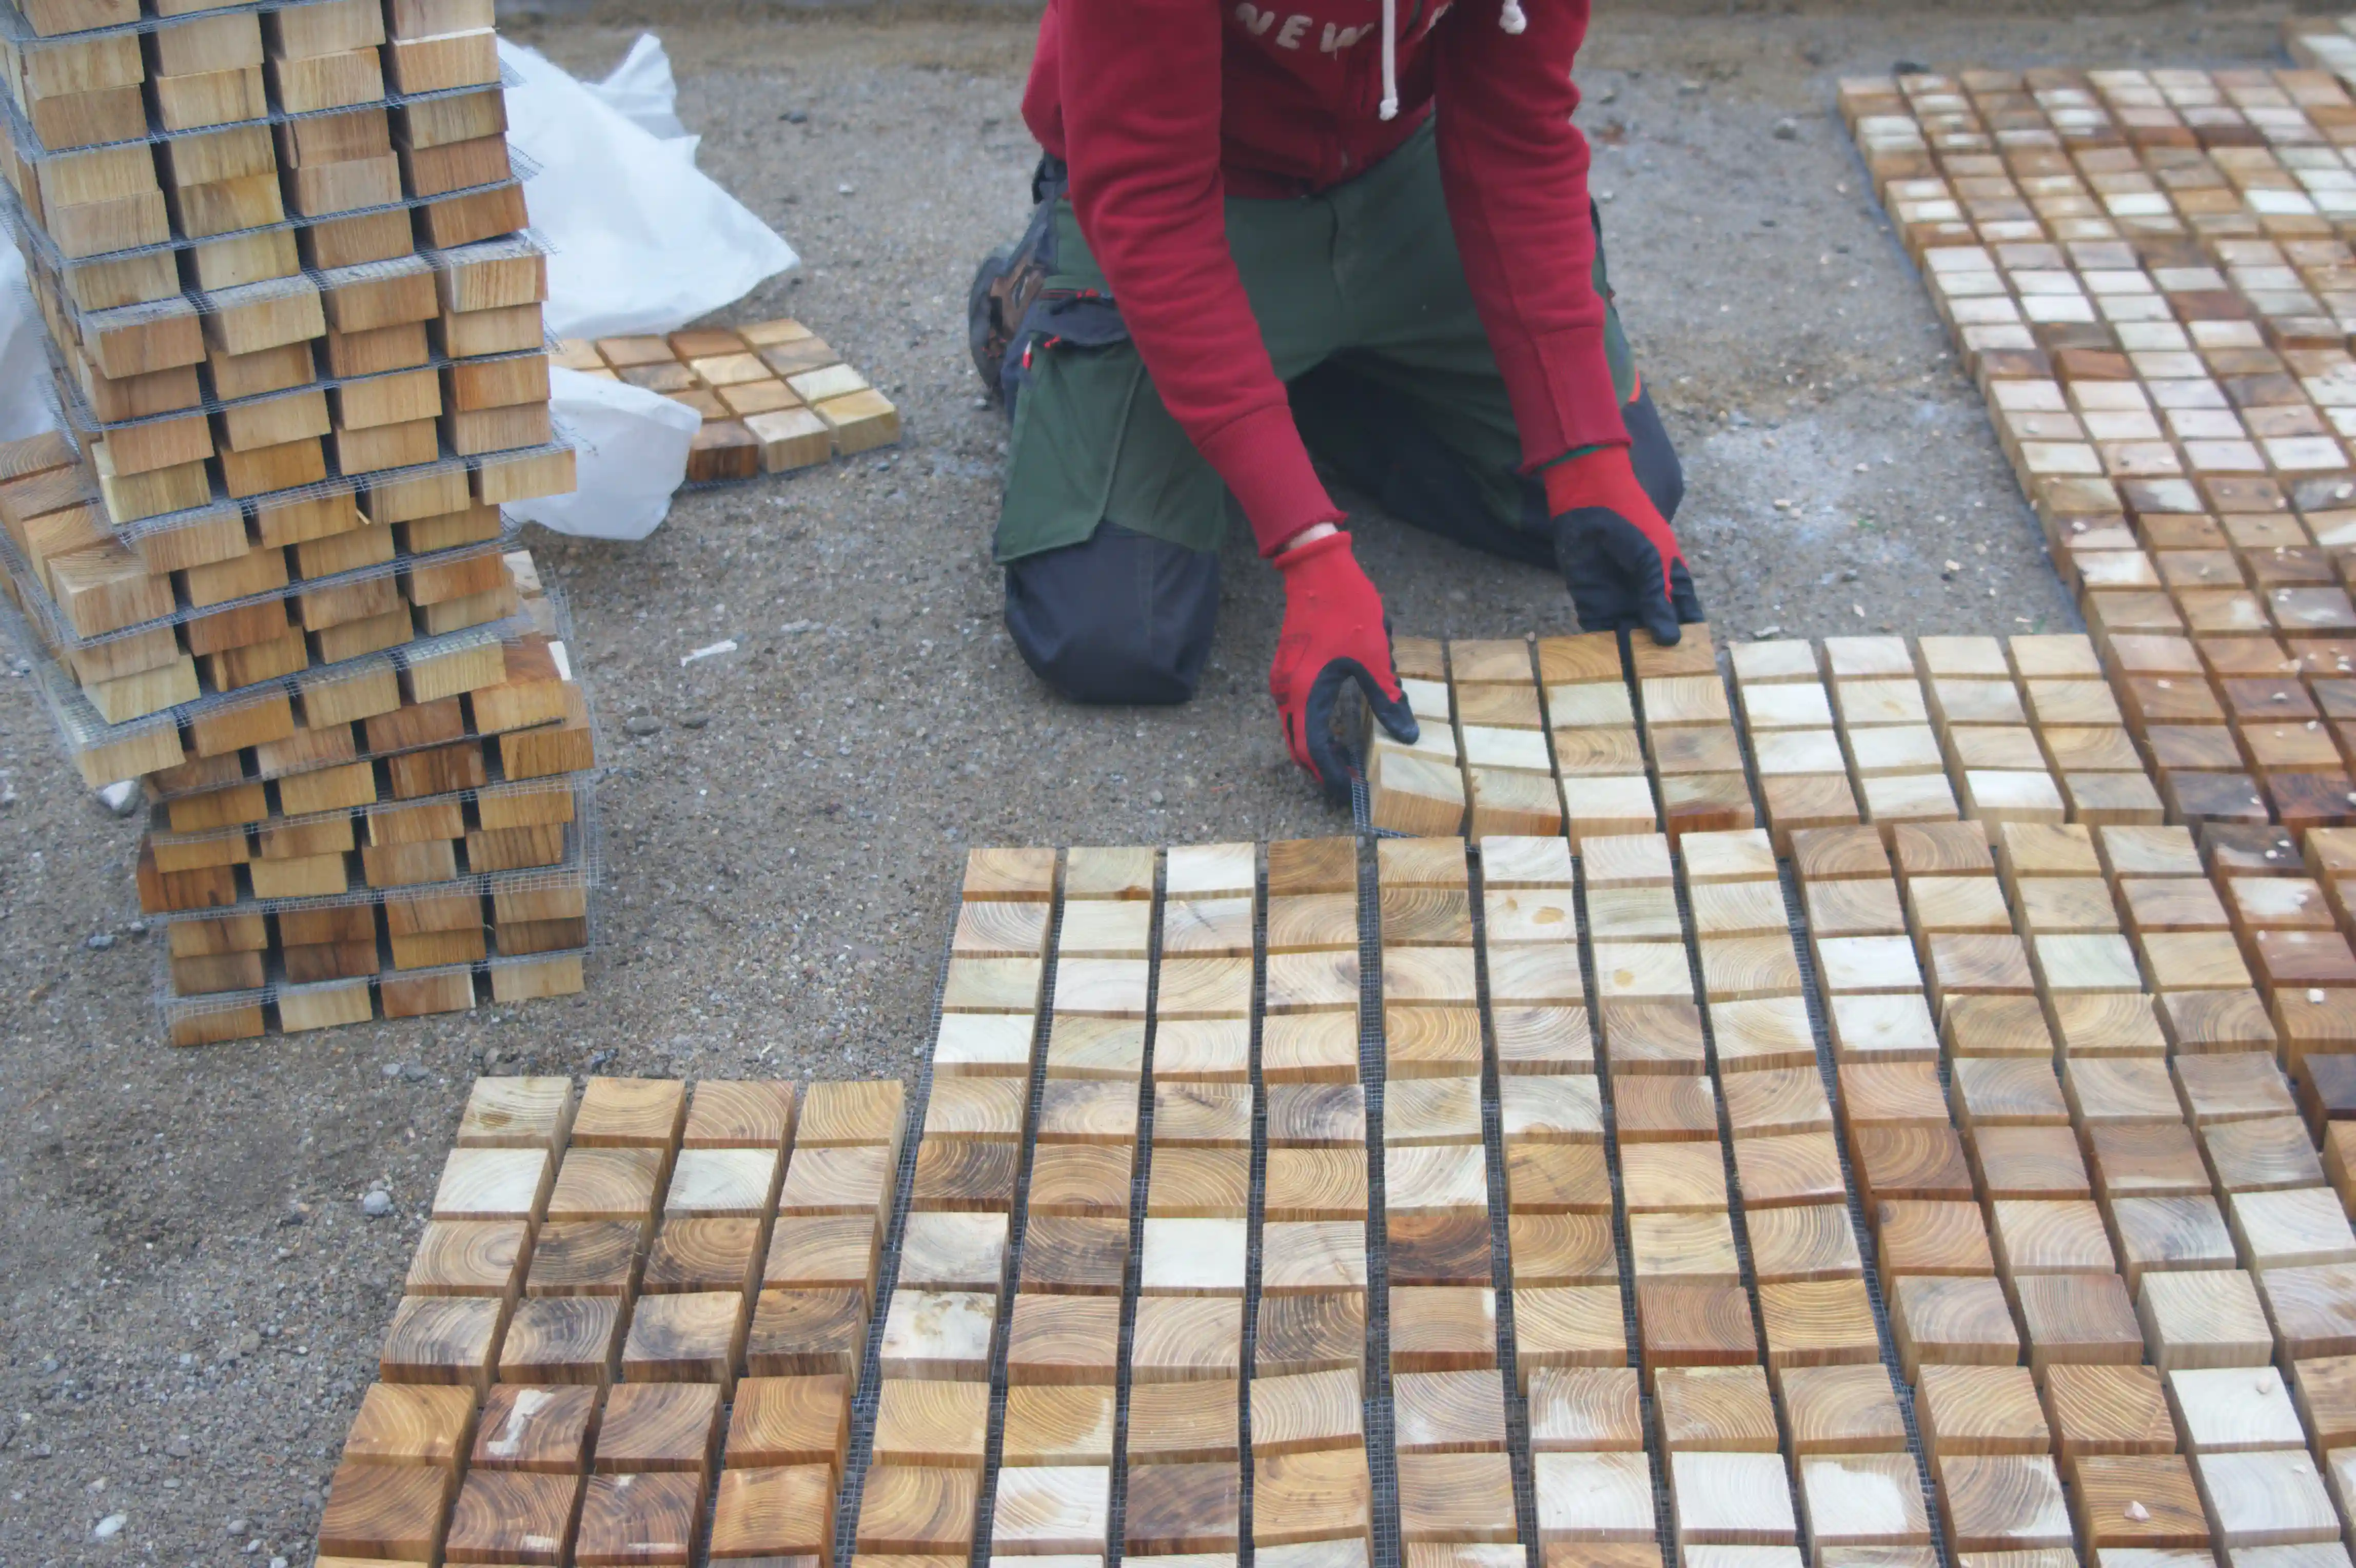
- Place the Pavers – Start laying pavers according to your design, using plastic spacers for consistent gaps.
- Allow for Expansion – Every 8 feet, leave a consistent expansion gap and insert expansion joints (rubber or plastic). Keep at least 2 inches of space from curbs or fixed edges.
- Cut as Needed – Use a saw for pavers and a wire cutter for any mesh components.
Step 6: Joint Material
- Fill the Gaps – Sweep in your chosen permeable joint material (small stones, tumbled glass, soil, or moss).
- Set the Surface – Use a rubber mallet to gently tap pavers into place if needed.
%20m%C3%A1solat.webp)
Step 7: Inspection & Adjustments
- Check Levels & Slopes – Use a level to confirm even placement and proper drainage slope.
- Make Adjustments – Correct any uneven areas before finishing.
Step 8: Final Steps
- Clean the Surface – Sweep away any excess joint material or sand.
- Enjoy Your New Space – Your permeable wood paver surface is now ready for use and will blend beautifully into your landscape while helping manage stormwater naturally.
%20m%C3%A1solat.webp)
✅ Pro Tip:
For a visual walk-through of the installation process, you can check out the Proflow Pavers video tutorial here: Installation Video
Bringing Your Project to Life
Installing Black Locust wood pavers is more than just a home improvement project — it’s a chance to create a space that blends beauty, function, and sustainability. With the right preparation and a step-by-step approach, even a DIY installer can achieve a professional-looking result that will last for decades.
Whether you’re building a garden path, a patio for entertaining, or a walkway around a stable, the process is approachable with basic tools, careful planning, and patience. The natural rot resistance of Black Locust means your hard work will pay off for years to come, with minimal maintenance and no need for harmful chemical treatments.
As your pavers settle into place and the golden tones begin to soften into a silvery gray, you’ll see the unique character that only real wood can bring. You’ll also have the satisfaction of knowing you chose a material that’s as good for the environment as it is for your home.
To learn more and request a sample, visit ProFlowPavers.com.